If you’ve created a blog on Blogger and want to make it look more professional, connecting a custom domain is one of the best things you can do. Instead of using a long Blogger URL like:
yourblog.blogspot.com
you can use a custom domain such as:
www.yourwebsite.com
This guide will show you exactly how to connect a custom domain to Blogger in 2026, including DNS settings, verification, and troubleshooting tips.
Why Use a Custom Domain with Blogger?
A custom domain offers several advantages:
- Professional appearance
- Better branding
- Improved SEO performance
- Easier for visitors to remember
- Increased trust and credibility
Requirements
Before you start, you’ll need:
- A Blogger account
- An active Blogger blog
- A custom domain from any registrar (Namecheap, GoDaddy, Cloudflare, Porkbun, etc.)
Step 1: Purchase a Domain Name
Buy a domain name from your preferred registrar.
Examples:
- yourwebsite.com
- yourblog.net
- yourbrand.org
After purchasing, log in to your domain management panel.
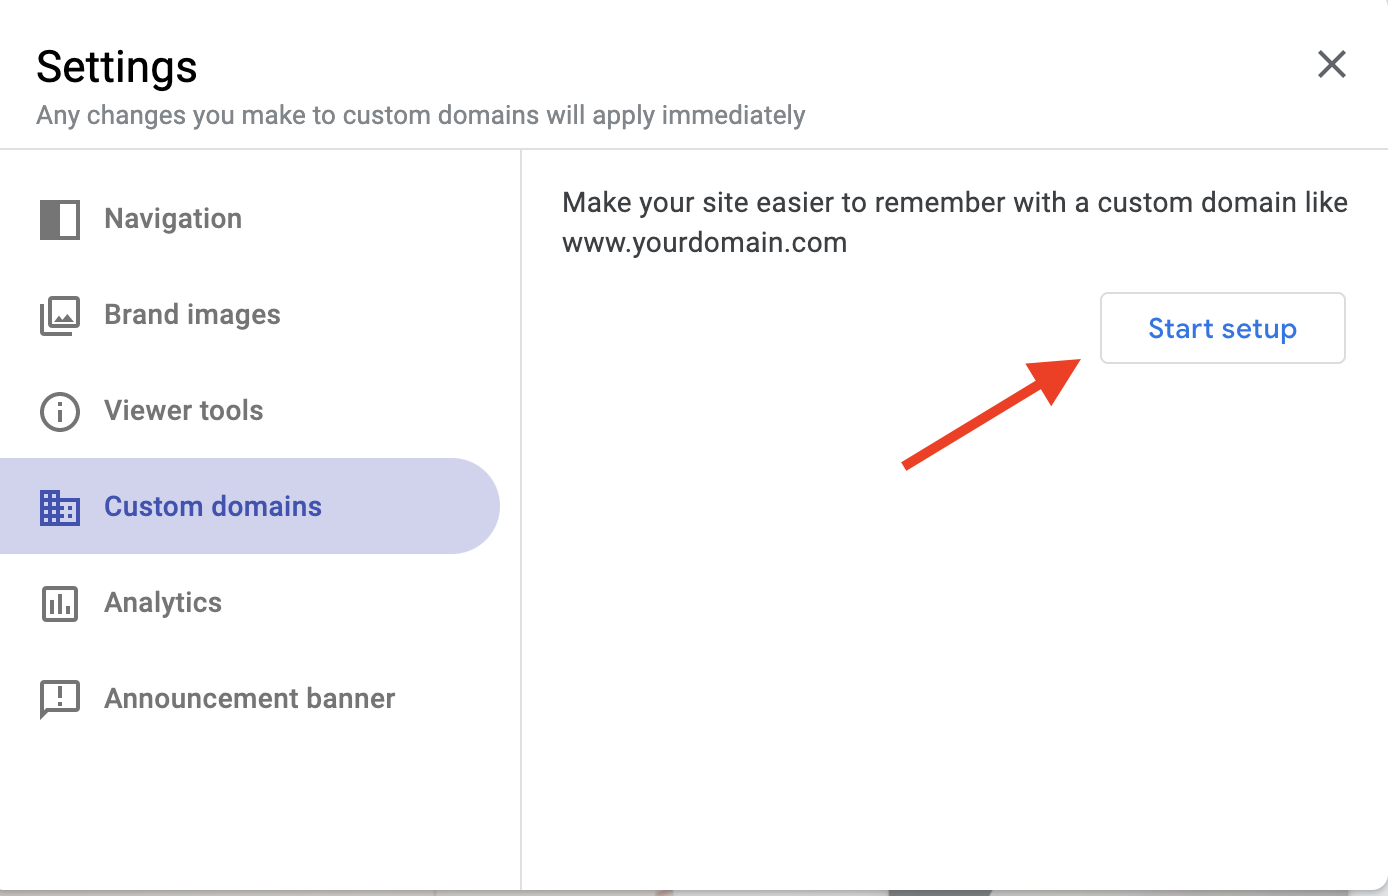
Step 2: Open Blogger Settings
- Log in to Blogger.
- Select your blog.
- Click Settings.
- Under Publishing, click Custom Domain.
Enter your domain in this format:
www.yourwebsite.com
Click Save.
You will receive an error message showing two CNAME records. Don’t worry—this is normal.
Keep this page open because you’ll need these records in the next step.
Step 3: Add CNAME Records
Go to your domain registrar’s DNS Management section.
Create the first CNAME record:
| Type | Host | Value |
|---|---|---|
| CNAME | www | ghs.google.com |
Create the second CNAME record exactly as Blogger provides.
Example:
| Type | Host | Value |
|---|---|---|
| CNAME | abc123xyz | gv-xxxxxxxx.dv.googlehosted.com |
Your unique values will be different.
Step 4: Add A Records for Root Domain
To make both:
- yourwebsite.com
- www.yourwebsite.com
work properly, add these A records:
| Type | Host | Value |
|---|---|---|
| A | @ | 216.239.32.21 |
| A | @ | 216.239.34.21 |
| A | @ | 216.239.36.21 |
| A | @ | 216.239.38.21 |
These Google IP addresses allow the root domain to connect to Blogger.
Step 5: Save DNS Changes
After adding all records:
- Save DNS settings.
- Wait for DNS propagation.
DNS updates may take:
- 15 minutes to 1 hour (usually)
- Up to 24–48 hours in some cases
Step 6: Save the Domain in Blogger
Return to Blogger.
- Go back to Settings → Publishing.
- Enter:
www.yourwebsite.com
- Click Save.
If DNS records have propagated correctly, Blogger will accept the domain.
Step 7: Enable HTTPS
For security and SEO:
- Open Settings.
- Find HTTPS Availability.
- Turn it ON.
- Enable HTTPS Redirect.
This ensures all visitors use a secure connection.
Step 8: Redirect Non-WWW to WWW
After Blogger accepts your domain:
- Go to Settings → Publishing.
- Enable:
Redirect yourwebsite.com to www.yourwebsite.com
This prevents duplicate content issues and improves SEO.
Verify Your Domain is Working
Test these URLs:
Both should load your Blogger site.
You can also use DNS checking tools to verify propagation worldwide.
Common Problems and Solutions
Blogger Says “We Have Not Been Able to Verify Your Authority”
Solution:
- Double-check both CNAME records.
- Ensure there are no spelling mistakes.
- Wait longer for DNS propagation.
Domain Not Working After 24 Hours
Solution:
- Recheck A records.
- Verify nameservers are correct.
- Clear browser cache.
- Test from another network.
HTTPS Not Available
Solution:
- Wait a few hours after connecting the domain.
- Blogger may take time to issue SSL certificates.
SEO Tips After Connecting Your Domain
1. Submit Your Site to Google Search Console
Add your custom domain and submit your sitemap.
Sitemap URL:
2. Create Custom Robots.txt
Optimize crawling and indexing.
3. Improve Site Speed
Use:
- Compressed images
- Lightweight Blogger templates
- Lazy loading
4. Publish High-Quality Content Regularly
Fresh content helps improve rankings and traffic.
Final Thoughts
Connecting a custom domain to Blogger is a simple process that can significantly improve your blog’s professionalism, branding, and SEO performance. By adding the correct CNAME and A records, enabling HTTPS, and configuring redirects properly, your Blogger site can function like a professional website with your own domain name.
Whether you’re creating a personal blog, portfolio, business website, or niche content site, a custom domain is a worthwhile investment that helps build trust and grow your online presence.
Leave a Reply