Connecting a custom domain to Blogger and creating content are two separate but essential parts of running your blog. Here is the step-by-step guide for both.
Part 1: How to Connect a Custom Domain
Before you begin, ensure you have purchased a domain from a registrar (like GoDaddy, Namecheap, etc.) and have access to its DNS settings.
- Configure in Blogger:
- Sign in to your Blogger dashboard.
- On the left menu, click Settings.
- Under the Publishing section, click Custom domain.
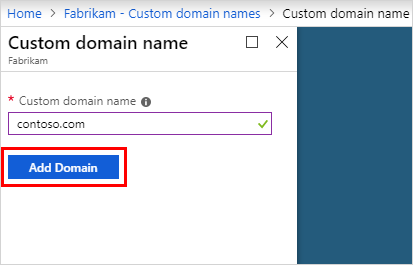
- Enter your domain (e.g.,
[www.yourdomain.com](https://www.yourdomain.com)). Note: Using the “www” prefix is the standard method for Blogger. - Click Save. You will see an error message with two CNAME records; keep this window open.
- Update DNS Settings with Your Provider:
- Open your domain registrar’s dashboard in a new tab and locate your DNS settings or DNS Management section.
- Add the CNAMEs: Create two CNAME records using the names and destinations provided in your Blogger error message.
- Name/Host: Usually “www” (or as provided by Blogger).
- Destination/Target:
ghs.google.com. - Second CNAME: Copy the specific name and destination string provided by Blogger.
- Add A-Records (Optional but Recommended): To ensure your “naked” domain (e.g.,
yourdomain.com) redirects to your “www” version, add these four A-records pointing to Google’s IPs:216.239.32.21216.239.34.21216.239.36.21216.239.38.21
- Finalize:
- Wait at least 15–60 minutes for the changes to propagate.
- Return to the Blogger Settings page and click Save again. If the error disappears, you are connected.
- HTTPS: Once connected, enable HTTPS availability and HTTPS redirect in the “HTTPS” section of your Blogger settings for a secure site.
Part 2: How to Create Articles
- Start a New Post:
- From your Blogger dashboard, click the New post button (top left).
- Write Your Content:
- Title: Enter a clear, keyword-rich title for your article.
- Editor: Write your content in the main editor. You can use the top toolbar to format text (bold, italics, etc.), add links, insert images, or embed videos.
- Optimize Post Settings (Right Sidebar):
- Labels: Add tags (e.g., “Tech,” “Tutorials”) to help categorize your posts.
- Permalink: You can set a custom URL (e.g.,
[yourdomain.com/2026/06/how-to-connect-domain.html](https://yourdomain.com/2026/06/how-to-connect-domain.html)) to make it SEO-friendly. - Schedule: If you aren’t ready to post immediately, use the “Schedule” option to publish it at a later date.
- Preview and Publish:
- Click Preview to see how the post will look on your live site.
- When satisfied, click Publish.
Pro-Tips for Your Content
- Use Headers: Use the “Heading” options in the text editor (H1, H2, H3) to structure your articles, which helps with search engine rankings.
- Media: Since you work with video production, consider embedding your YouTube videos into your blog posts to drive traffic between your platforms.
- Consistency: Use the “Labels” feature consistently to ensure your sidebar widgets (like “Popular Posts” or category lists) function correctly.
Leave a Reply